GOAT works with OSM data. This means that if the OSM data is faulty, the model will also be faulty. If data errors are found in the model, it is best to clean them up directly in OSM. For most cities OSM data is quite good, but in some places many adjustments are necessary.
There are many different ways to edit OSM data. You can do the editing directly in the browser, e.g. with the embedded iD editor, or use external editor tools like JOSM. This documentation shows the basic steps of editing OSM data with the iD Editor.
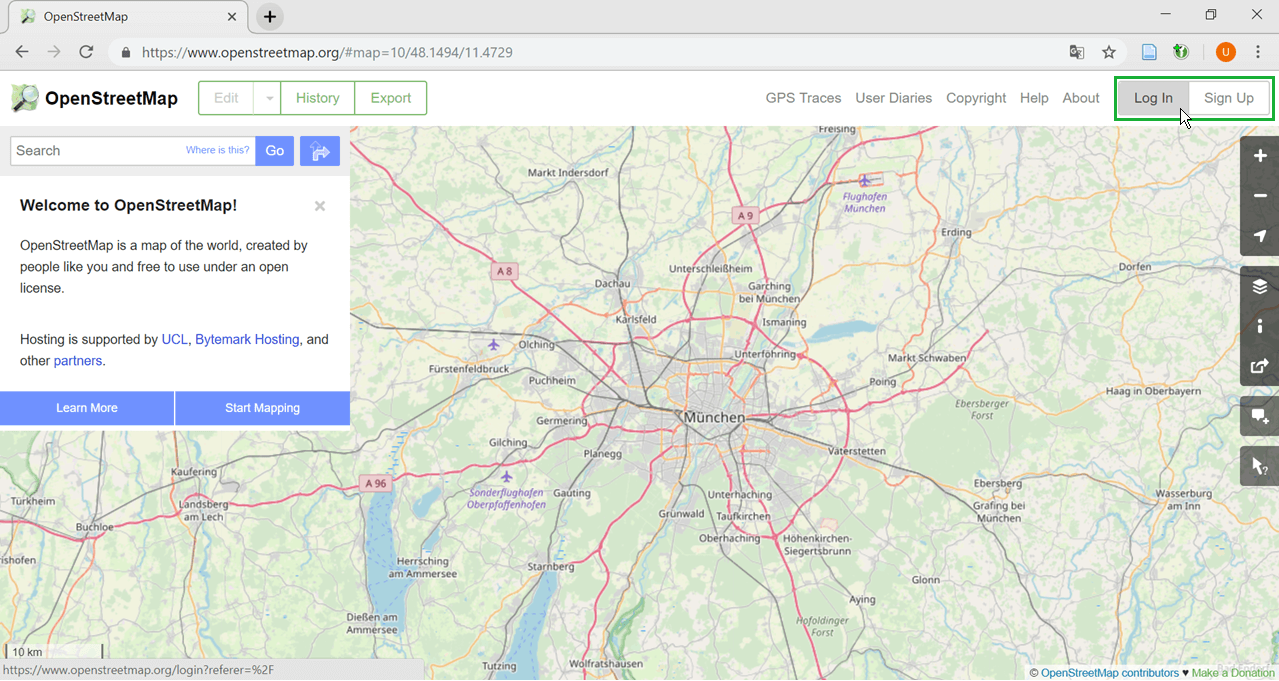
1. Visit OpenStreetMap
Visit OpenStreetMap: https://www.openstreetmap.org/
And log in / create an account.
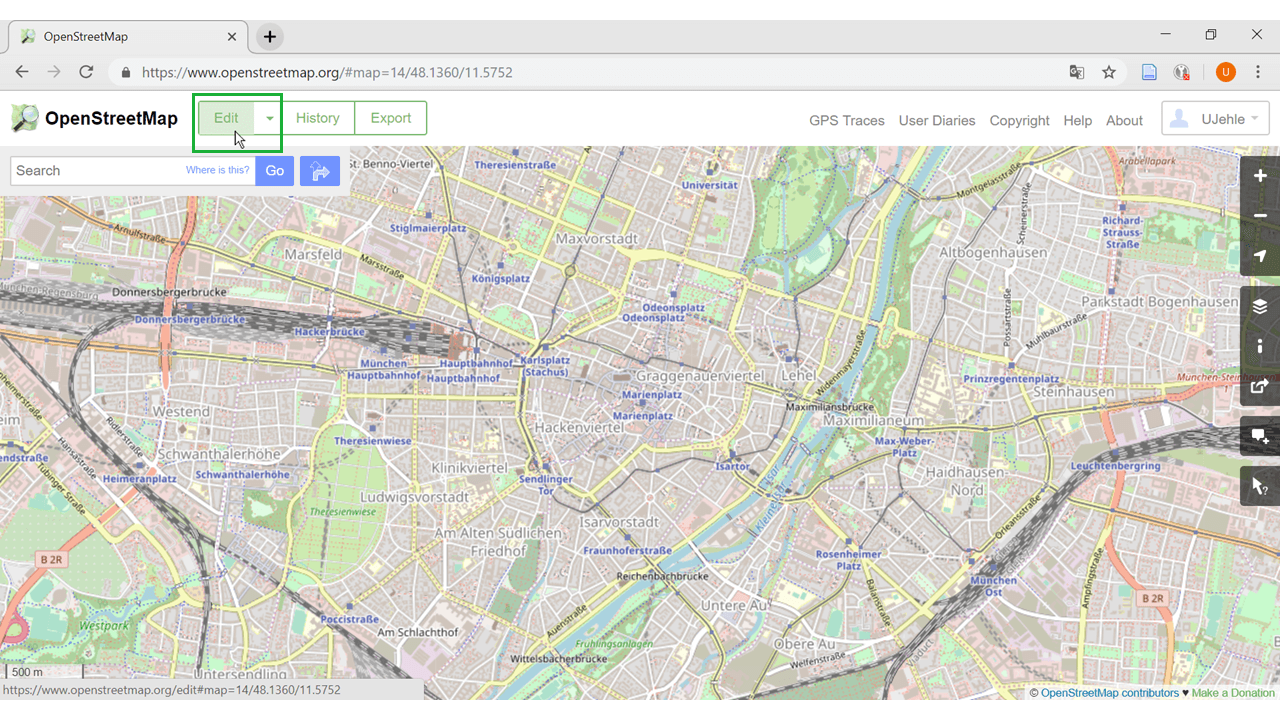
2. Activate edit mode
Press the “Edit” button to start editing.
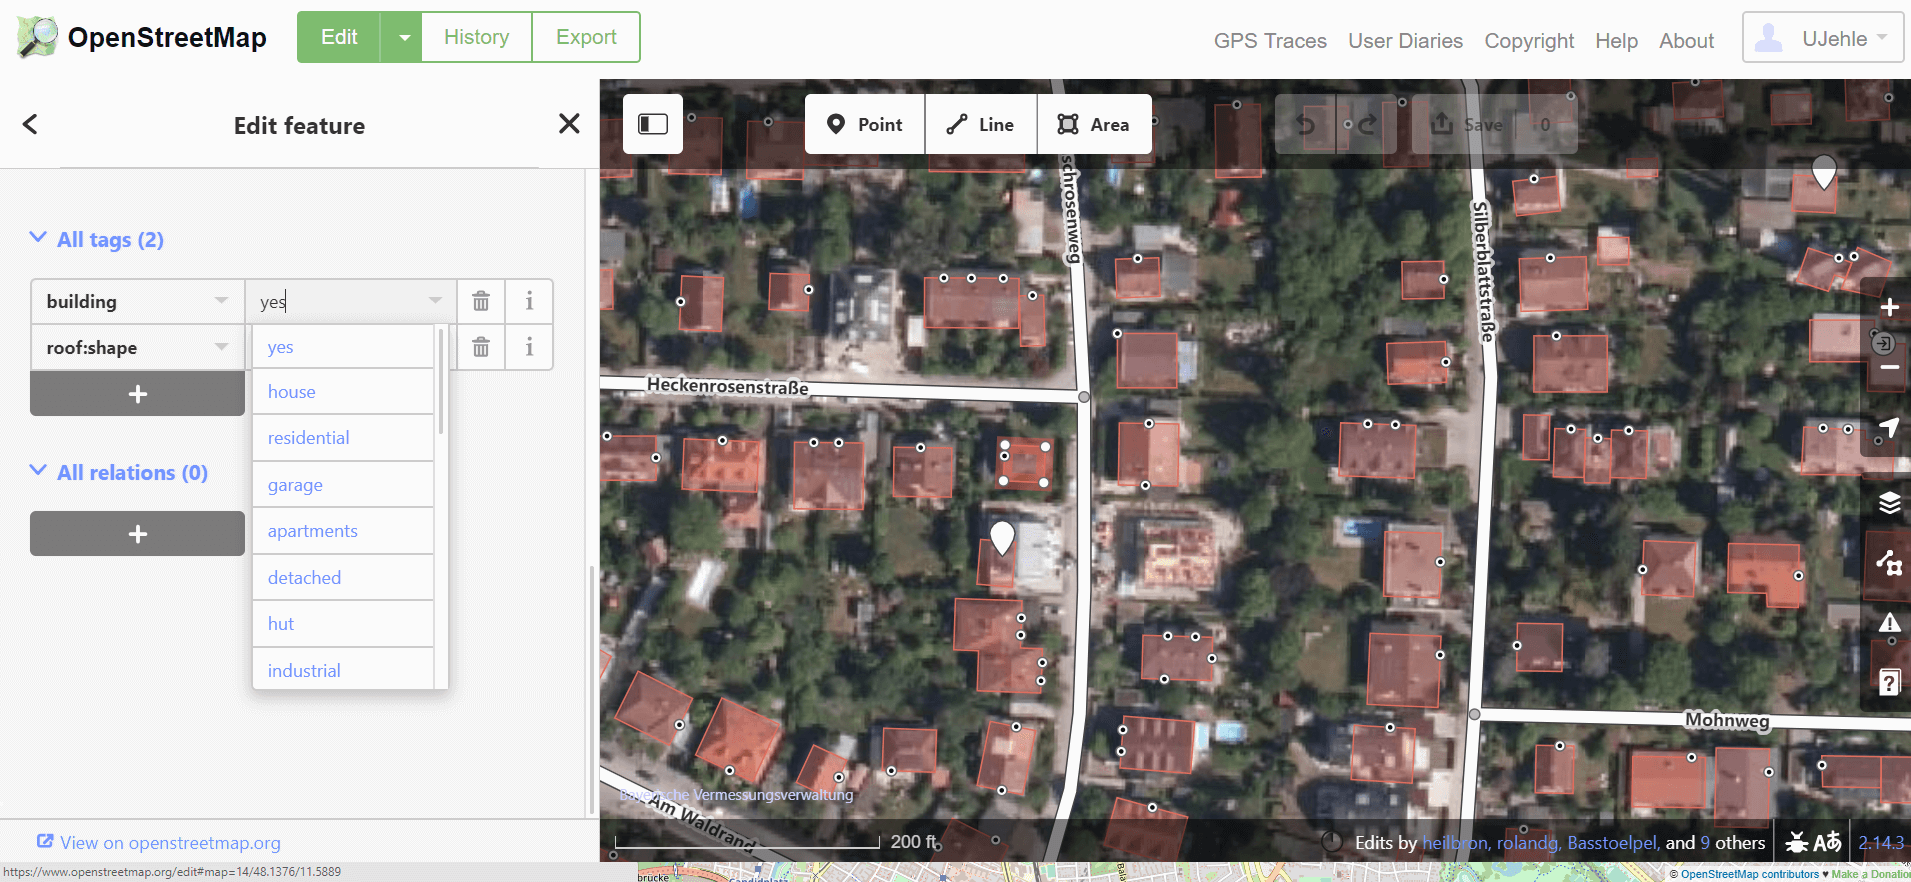
3. Familiarize with the OSM structure
Zoom in and click on an object. Every object has features (e.g. a building consists of a building type, number of levels, height and address; also further information such as architect and wheelchair access can be inserted), some specific features are defined as tags. A tag consists of a key (e.g. building type) and a value (e.g. residential), means building type = residential.
By using these tags semantical-rich data is produced which is of special value for planners. As it allows for the analysis of different functions in space e.g. select all buildings that are residential.
Before starting with editing it makes sense to familiarize yourself with the provided tags and keys. Therefore the OSM wiki is a very important reference:
https://wiki.openstreetmap.org/wiki/Map_Features
4. Adjust existing objects
Select the object you want to adjust (e.g. building, street, POI). To add a tag, press the “+” button, select the desired key and choose the correct value from the drop-down list or type it manually. If the key already exists but is associated with a wrong value, you can easily adjust it by selecting the right one.
If the spatial extent of an object is incorrect, you can move the nodes to the correct position by clicking and dragging.
5. Add new objects
Zoom to the position of the new object and select in the header which object type you want to add (point, line or area). Place the new nodes with a single left click and end the input with a double left click. Right-clicking offers some options for adjusting the objects (e.g. square the corners of the area). On the left, you can now select the object type and insert features and keys.
6. Save the changes
After making changes it is important to save them by clicking on “save” in the header. You can add a comment to your changeset and check “I would like someone to review my edits” if you’re not sure that you’ve done everything correctly.
For a more detailed tutorial see here: https://learnosm.org/en/