Description of the feature
In GOAT, a dataset with a variety of Points-of-Interest (POIs) is already provided by default. If you wish to integrate further POI data sets into GOAT, you can do so via the “Upload” function. In this tutorial you can see how to create your own POI layer by using QGIS and integrate it in GOAT.
Step-by-step guideline for creating your own Points-of-Interest data set
- You can create your own point data from QGIS and upload it to GOAT. For this, you must create a new geopackage layer from the windows shown in the figure. It is recommended to use the GeoPackage layer because it can then be easily exported as a shapefile.

- After specifying where to save the file and its name, you can add the column names you want to be in the attribute table of the dataset from the new field section.

- To add point data to your dataset, make sure you activated the “editing mode”.

- After enabling this mode, you can add new points from “add point feature”.

- Now you can create the point by zooming in and clicking on the point you want to add to the map.

- After adding your point data, fill in its properties(category, name, street, zipcode etc.). Once you click “OK”, the point will be added.

- After you finish adding your points, you can access & edit your points from the attribute table.

- As a result you can export the point data that you created as a shapefile or GeoJSON. Right click on the layer and select “Save Feature As”.

- To export as a shapefile, select the shapefile option in the “format” section and click “OK”.

- To export as a GeoJSON, select the GeoJSON option in the “format” section and click “OK”.
Step-by-step guideline for uploading your own Point of Interest data set to GOAT
- Click on “User Data Upload” in the right menu.
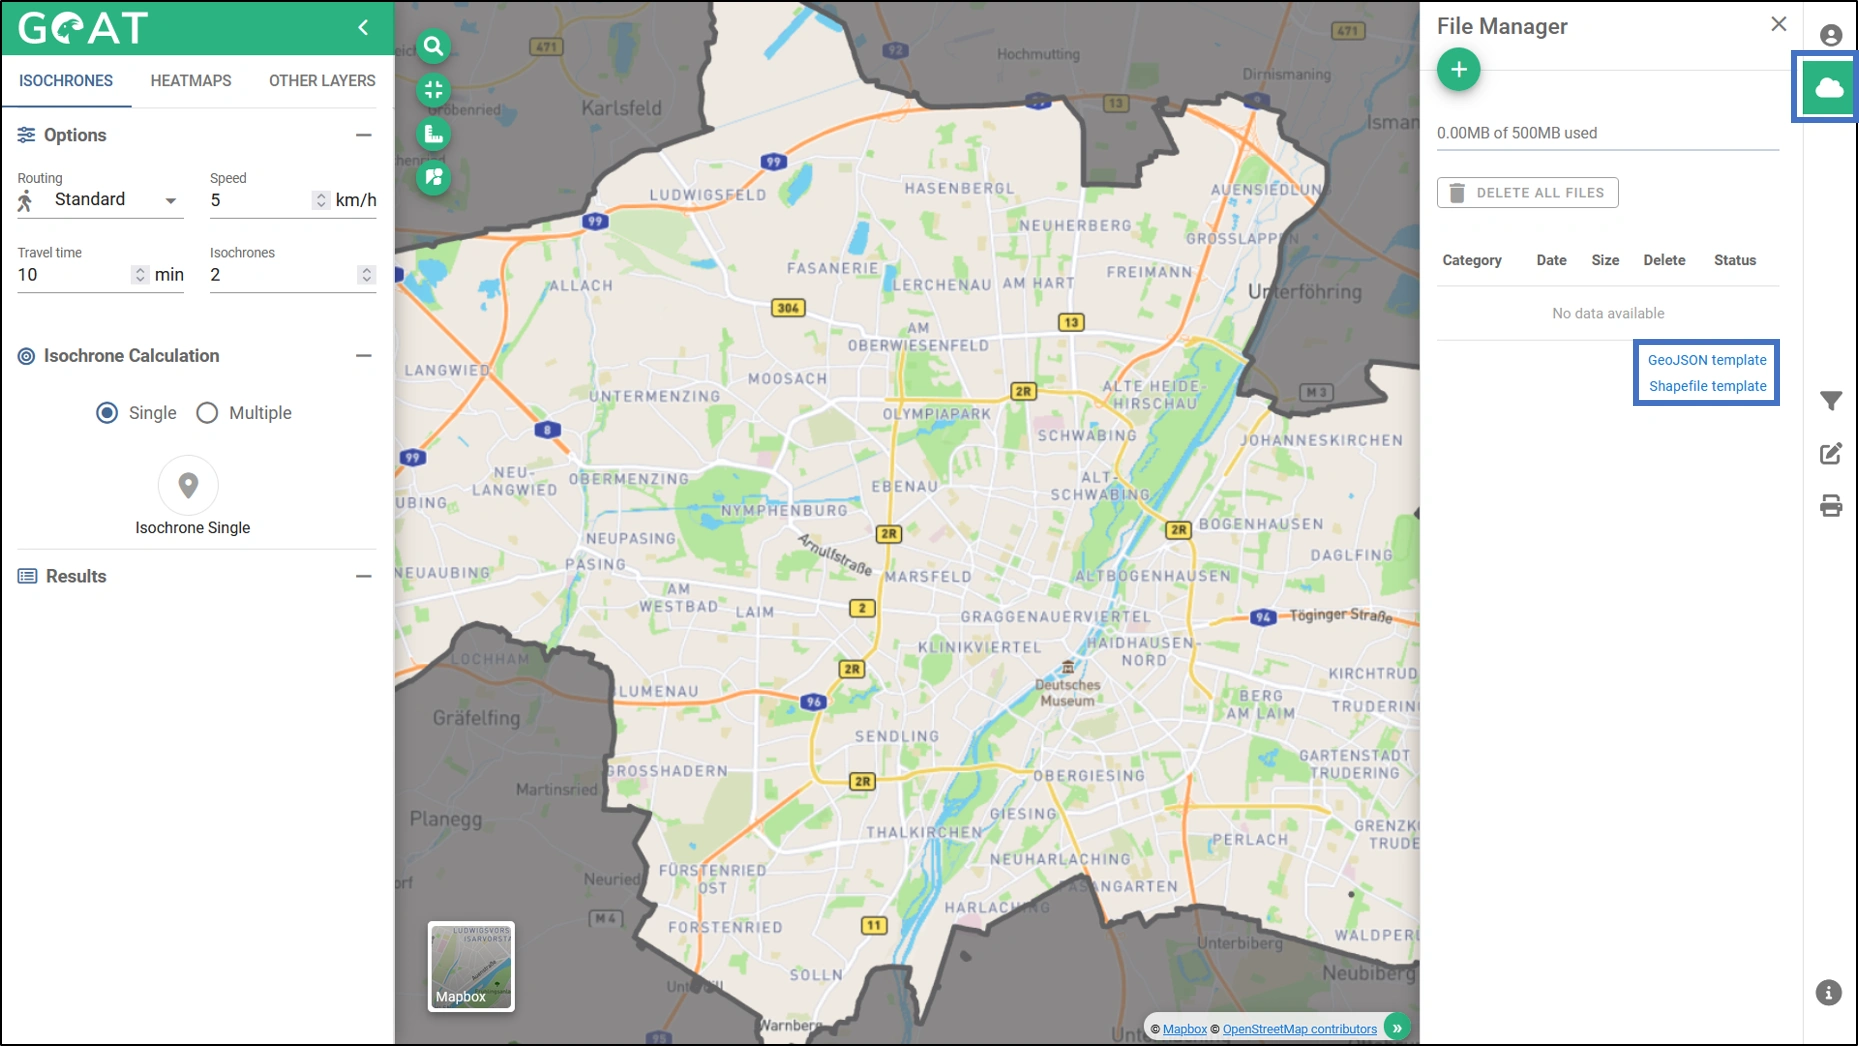
Prepare the POI data as a GeoJSON file. Templates for this are available in the interface. If you want to upload multiple POI categories (e.g. youth centres, bikesharing stations), then create a separate file for each category (i.e. in this example a GeoJSON file with the youth centres and a GeoJSON with the bikesharing stations).
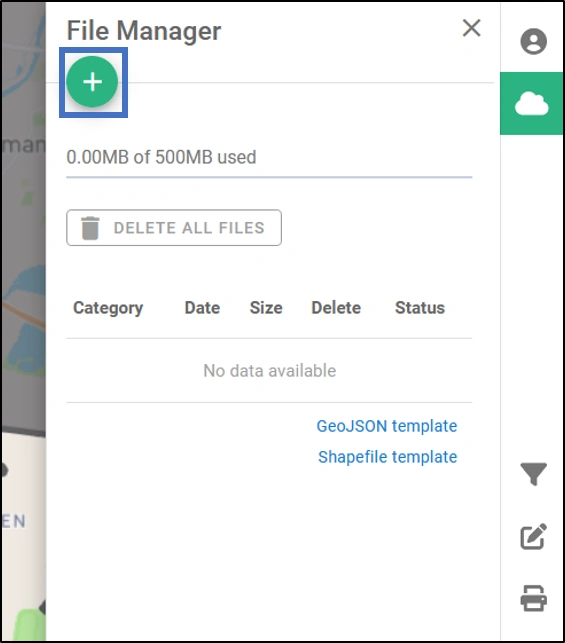
Click on the “plus” symbol.
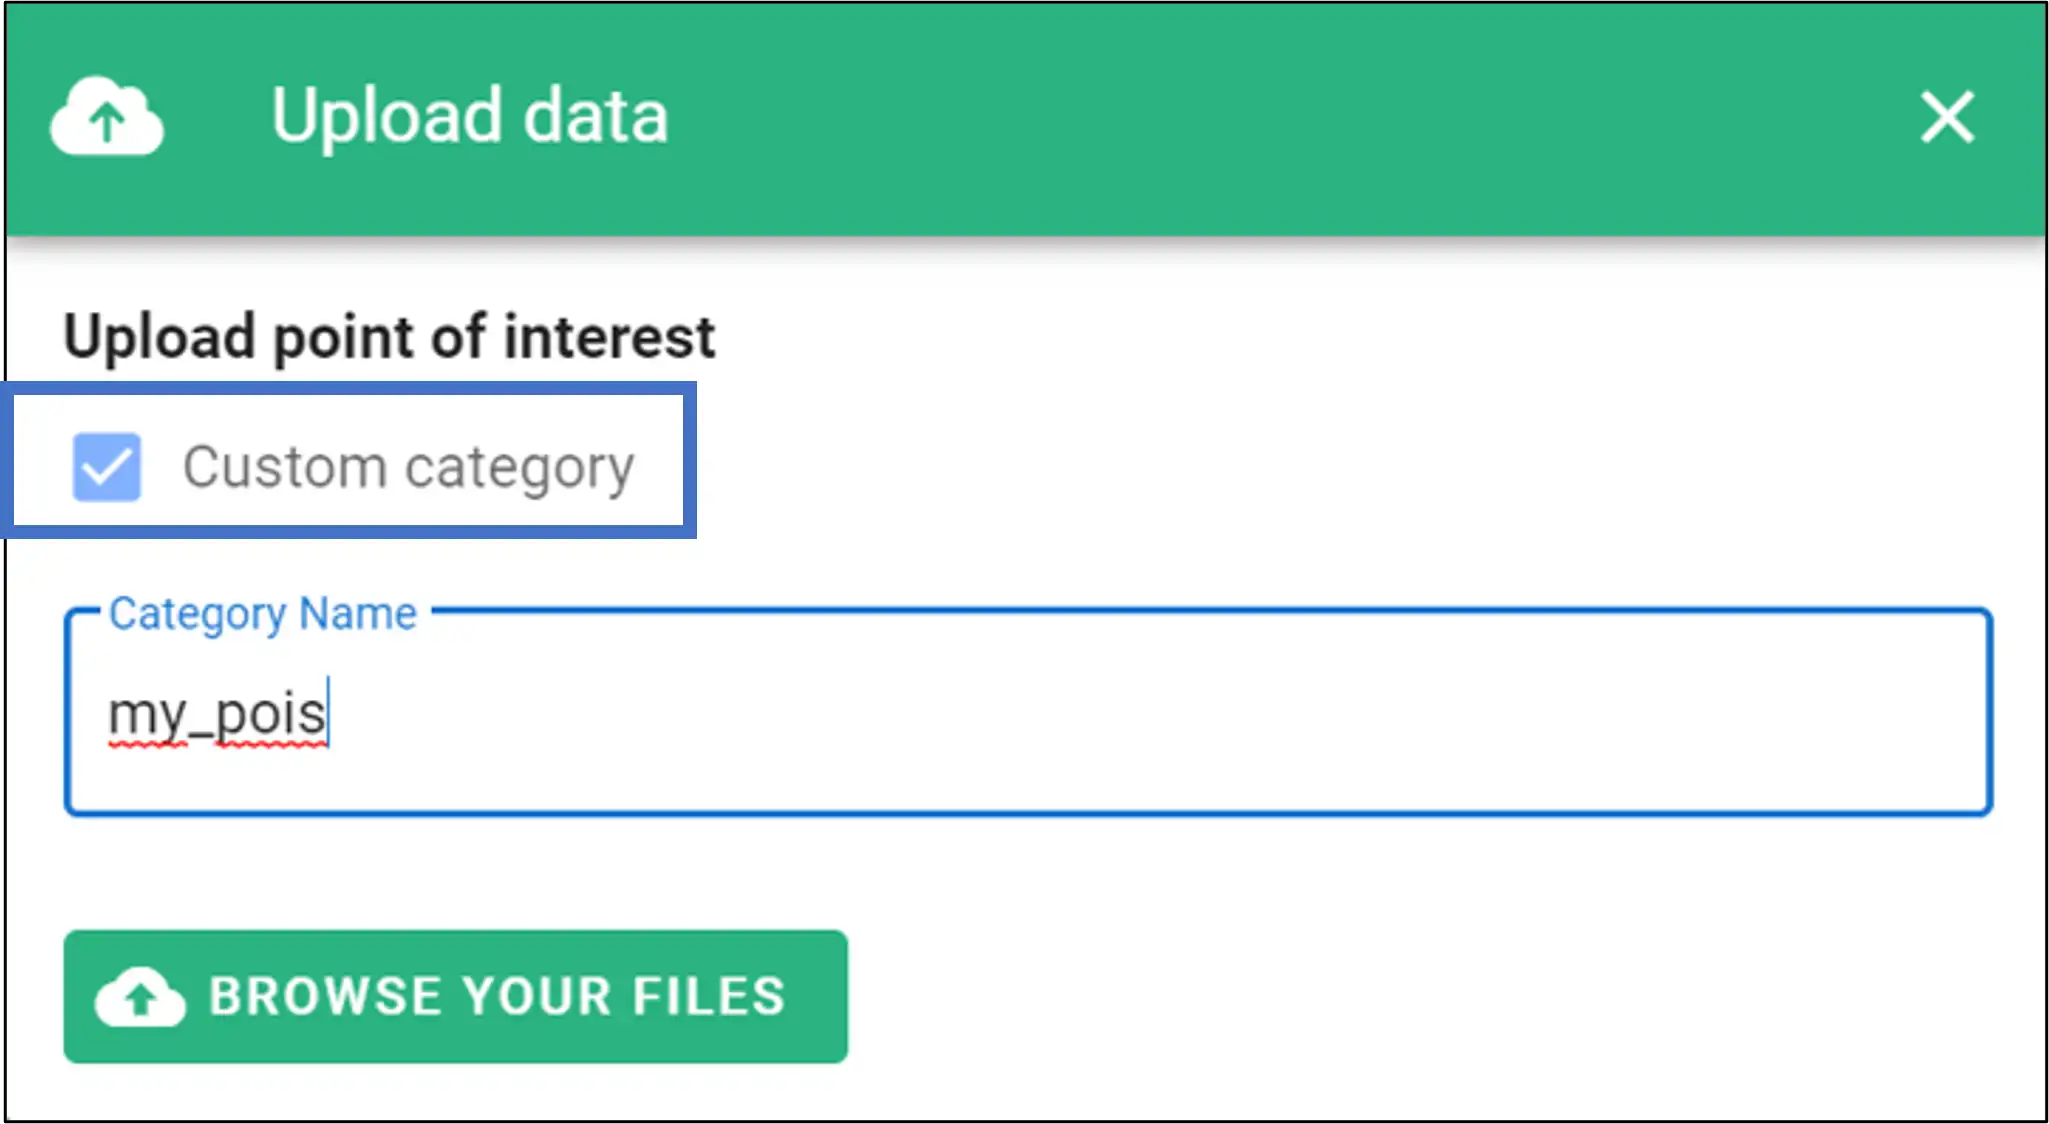
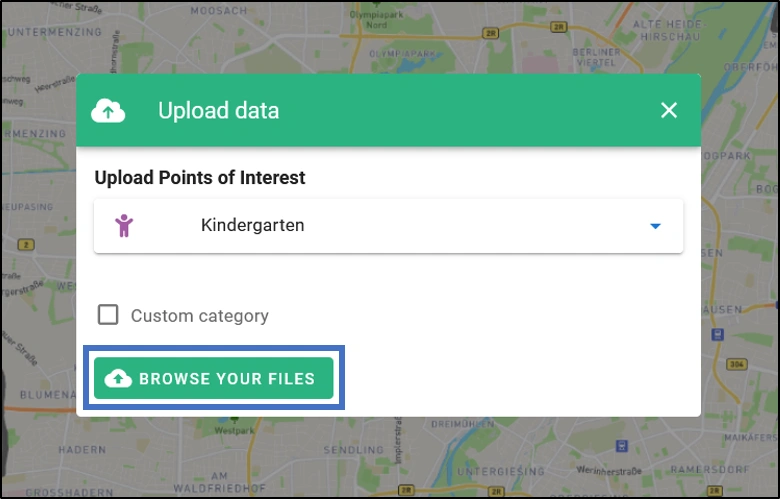
- Select the POI category of the dataset. You can either choose one of the predefined categories or create your own.
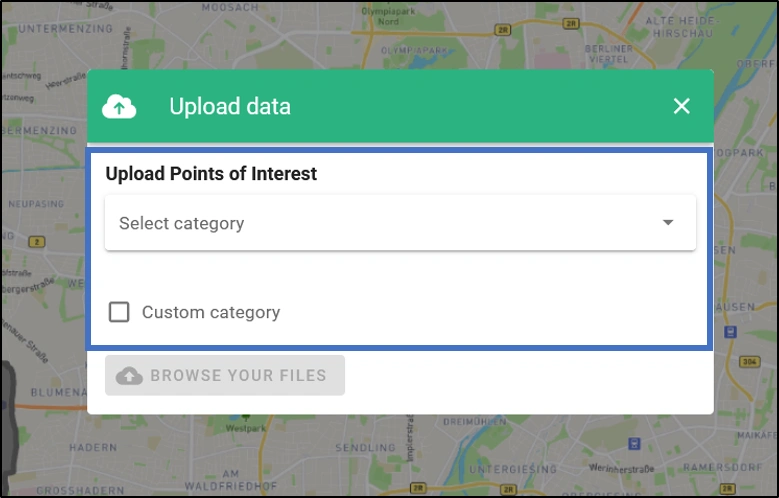
- Click on “Browse your files”.
- Select the file from your local folder and upload it.

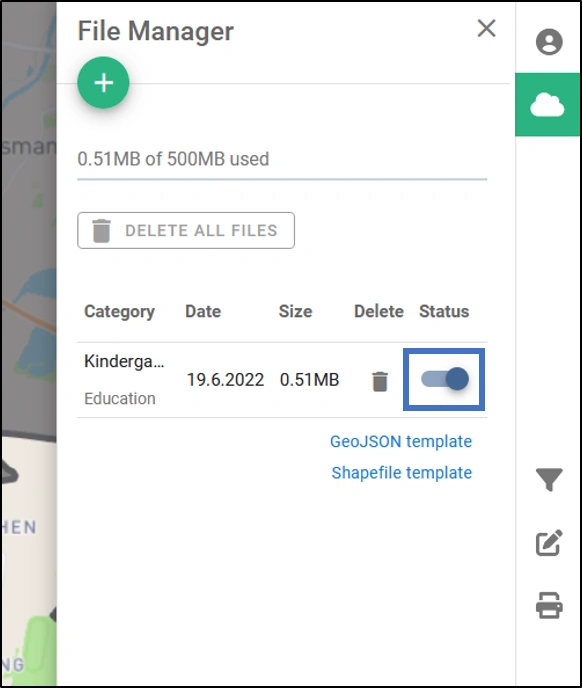
- The uploaded data set is now listed in your file manager and can be activated via the slider.
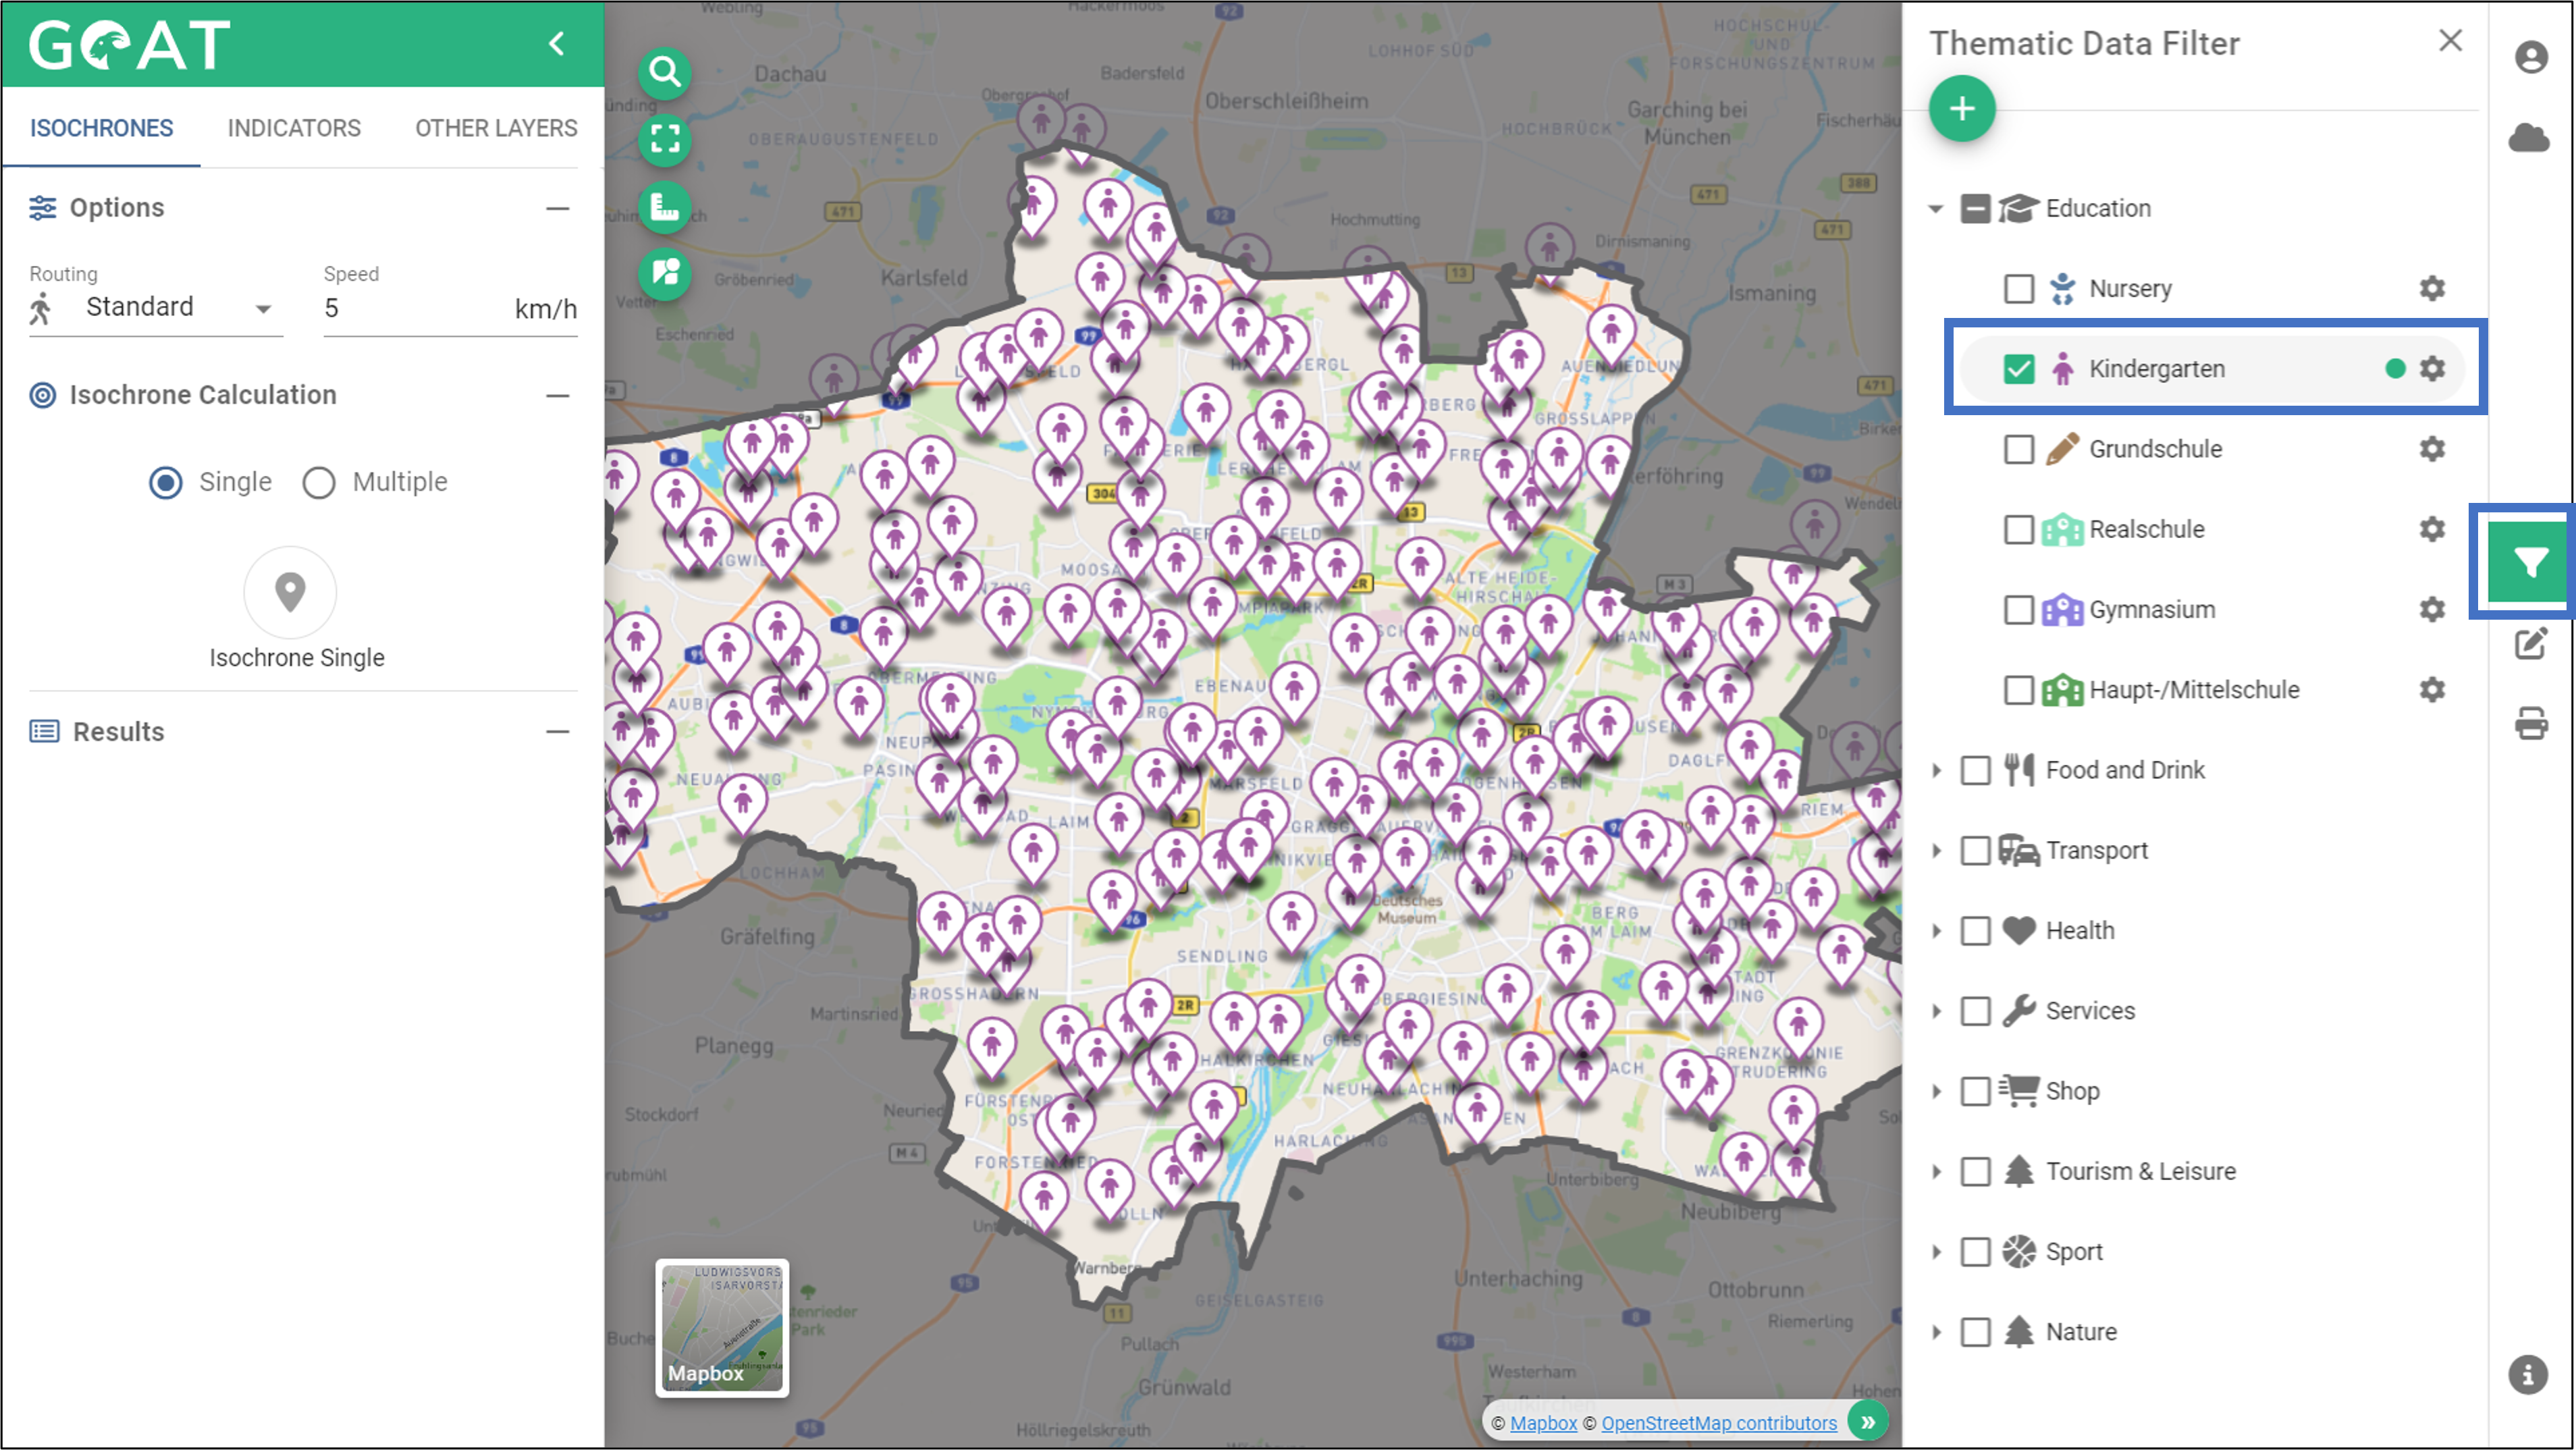
- Switch to the menu “Filter Thematic Data”, there your new data set is marked with a green dot. By clicking the checkbox, the layer is loaded into the map and you can see your uploaded data.